• Dandy, Delivered // Sign Up For 15% Off
Menu
Cart
Name Price QTY

Subtotal:
Tax included. Shipping calculated at checkout.

View cart

Your cart is empty

    Here’s Why You Need To Try DIY Facial Yoga

    Sophie Bronstein

    Wonder-serums, mega-quenching moisturisers, magic acids… we’ve heard it all when it comes to skincare. And while we will always be obsessed with the latest lotions, potions and innovations - there’s a method of keeping skin on tip-top form, that doesn’t require any products at all! 
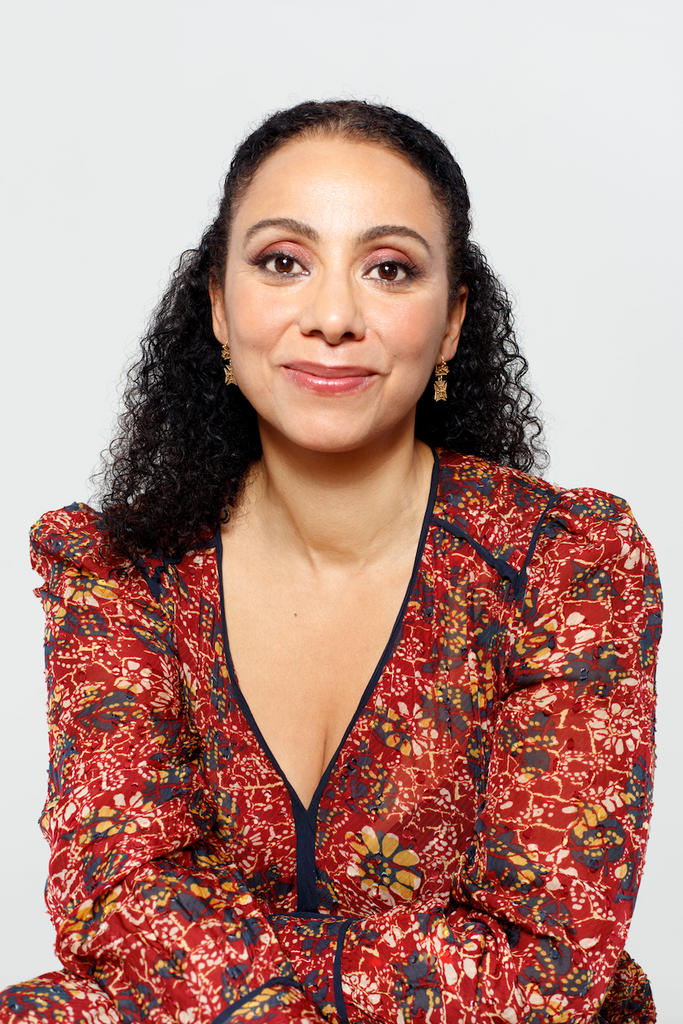
With a perfected technique and just 5-minutes a day, facial yoga could be the ultimate answer to your skin woes – such as puffiness, lack of elasticity, dullness and more. We got the low down from skincare expert Michaella Bolder on what it is, how it helps, and most importantly – how to do it ourselves!


    So, in short - facial yoga, otherwise known as facial massage, is the practice of stimulating the facial muscles with firm movement in order to boost circulation, tighten skin and improve facial tone and structure. “Facial massage has been around for so many years, and it’s had it share of the spotlight recently as people now understand the natural benefits of it,” Michaella says.


    But how does it work? “There are around 80 muscles in the face, which we don’t get to exercise in our every day lives,” she continues. “It’s almost impossible to exercise the facial muscles without doing it manually - and so when it’s done, the tiny fibres, muscles and tissues in the face respond really well to the stimulation,” Michaella adds.


    She continues: “It stimulates blood flow, increasing blood circulation which brings new oxygen and nutrients to the surface of the skin. These nutrients feed the facial muscles and tissue resulting in a brighter, tauter and more radiant complexion immediately. Increasing blood flow helps to open and stimulate the lymphatic system and the lymph nodes around the neck and behind the ears, which can become stagnated over time. Massage helps to open these passages up and allow any toxin build-up to drain away.”


    And not only does facial massage allow us to get rid of any toxins and excess fluids (the factors that cause puffiness), it also allows us to release tension - which is often held in areas such as the jaw, back of the neck and the eyebrows. “Massaging the face helps to stimulate our muscles, reawakening and reminding them of where they should sit, resulting in a more contoured, youthful appearance,” Michaella explains. And as if we weren’t already sold, it turns out there are also holistic benefits to facial yoga: “Wellbeing is also a fantastic benefit of facial massage, as working the facial muscles in the correct way, from the centre outwards or upwards, helps to align and reconnect chakras in the body.”


    So, how do we do it - and how often? “Facial massage can be practiced every day. I recommend anywhere from 5 to 20 minutes, depending on the amount of time you have. When incorporated into your daily routine, it will also help to improve the efficacy of your skincare products, making your products work harder and allowing you to get the most out of your routine. It is always important to make sure you massage on clean skin, and have enough ‘slip’ on your face, to allow your fingers to glide across the skin without pulling or tugging at it,” Michaella says.


    Follow our step-by-step guide to perform an effective facial massage at home…


    Step 1: Apply a couple of drops of your favourite facial oil to your palms, before gently rubbing them together. Choose an oil that best suits your skin type – for acne-prone or particularly sensitive skin, opt for something with calming ingredients.


    Step 2: Begin with your forehead. Take the knuckles of your index fingers and place them directly between your eyebrows. Delicately push them up towards your hairline, before pushing them sideways out towards your temples. Repeat this motion 5-10 times.


    Step 3: Next, it’s time to work on your eyes. Use the tips of your index and middle fingers and place them on your temples. Gently swipe the fingers underneath the eyes, moving towards the bridge of your nose. Bring your finger tips back up towards your eyebrows on the outside of your eye in an oval shape. Repeat this motion five times.


    Step 4: For your cheeks, once again take the knuckles of your index fingers, and place them by the bridge of your nose on either side. Bring your knuckles down and follow the contour of your lower cheekbone, dragging your knuckles out towards your ears. Repeat this motion five times.


    Step 5: To get the muscles around your mouth to play ball, start by making a ‘V’ sign with your index and middle fingers. Place your index finger above your top lip, and your middle finger directly under your lower lip. Press your fingers gently into your skin and pull them outwards towards your ears. Repeat this five times.


    Step 6: Don’t forget your chin! Using the knuckles of your index and middle fingers again, place your chin in between them. Pull them upwards along the jawline and up towards your ears.


    Step 7: Finally, it’s time to work on your neck. The neck is often forgotten about, but it’s usually the area that needs the most work. Place your knuckles under your chin and pull them down towards your collarbone. Repeat this movement 5-10 times.


    It might seem like a lot, but we promise – once you’ve mastered it, it’ll become second nature and you’ll likely feel some amazing benefits! We’d love to hear how you get on…

    Shop our recommendations

    Read more

    Dandy, Delivered.

    Get our latest advice, trends and stories, weekly, and 15% OFF your first order.

    We use cookies to ensure you get the best experience on our website.